In vocal mixing, and especially in rap music, using reverb and delay correctly is not an easy thing. However, adding them in a harmonious way in the mix is essential for a quality result. But how to blend reverb and delay with rap vocals? Even if it is complex and difficult to learn, I give you all the answers in this article.
Here are 5 important elements that will help to blend reverb and delay with rap vocals :
- Use auxiliary tracks
- Use filters
- Use several delays and reverbs
- Add effects on the effects
- Mix them actively
- Use templates
By using these techniques that I use every day to do vocal mixing for a living, you will most likely improve your mixing skills and your reverbs and delays will sound much better than before reading this article.
Before you dive into anything, a quick reminder!

What is A reverb plugin ?
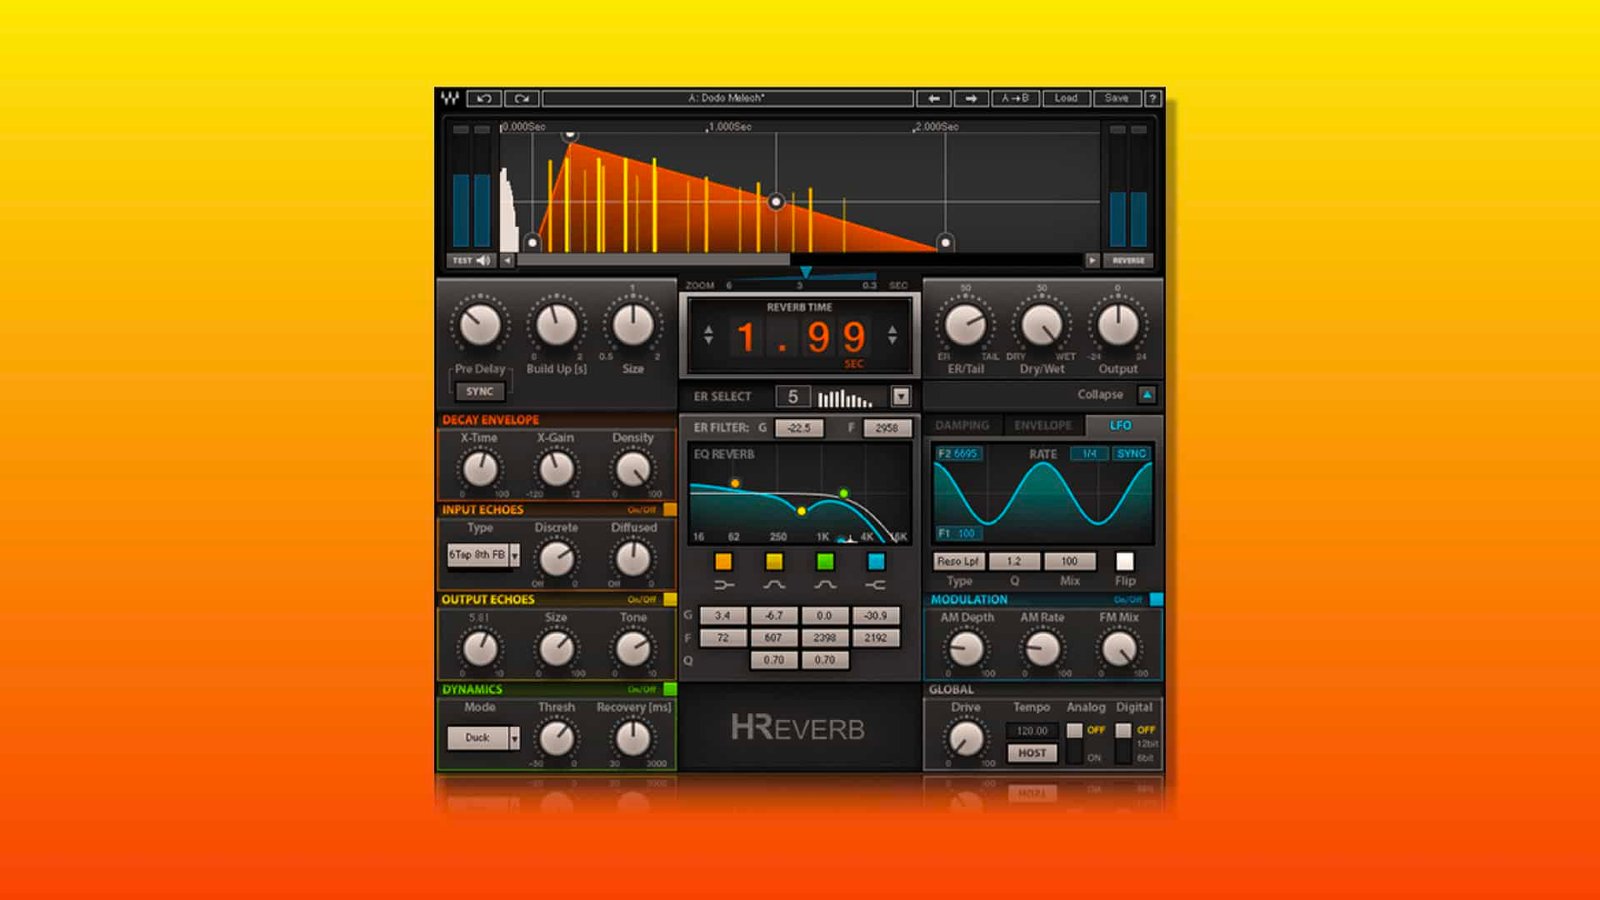
A reverb plugin is a digital tool that allows to add a certain space to an audio source. Reverb is a central pillar of audio mixing. There are 2 ways to generate a digital reverb :
- Algorithm reverbs : They correspond to reverbs produced via an algorithm. In other words, via mathematical calculations. They represent 75% of the reverb plugins available in the market.
- Convolution reverbs : More complex, convolution reverbs use impulse responses of physical and real-life spaces to digitally re-create how their acoustic space sound. That means that this type of reverb can be extremely realistic. The most famous convolution reverb is Altiverb.
Regardless of how the reverb is generated, we can separate them into 5 types :
- Hall reverbs : Generally represent large and big spaces. A concert hall, for instance.
- Room reverbs : Tend to imitate the acoustics of small and warm rooms. From a studio, to a bedroom or even a garage.
- Plate reverbs : Tend to imitate one of the oldest techniques of reverb generation in the recording studio history. The initial technique is to run the sound through a metallic plate. The vibrations generated are then recorded. This is a plate reverb.
- Chamber reverbs : The principle is to send an audio source via a speaker in a room (not bigger than your bedroom). Thanks to the extremely reflective walls, the pretty long reverb generated by the surfaces is then re-recorded by the sound engineer.
- Spring reverbs : Follow the same principle as plate reverbs, except instead of working with a plate, they work with a spring. These reverbs sound like a lot of repetitive and very close echos. The human ear perceive that as a reverb.
ℹ️ If you want to learn more about reverb and especially which plugins to use to get the best results, I recommend you this article about The 9 Best Reverb Plugins For Vocals In 2023 (Any Budget)
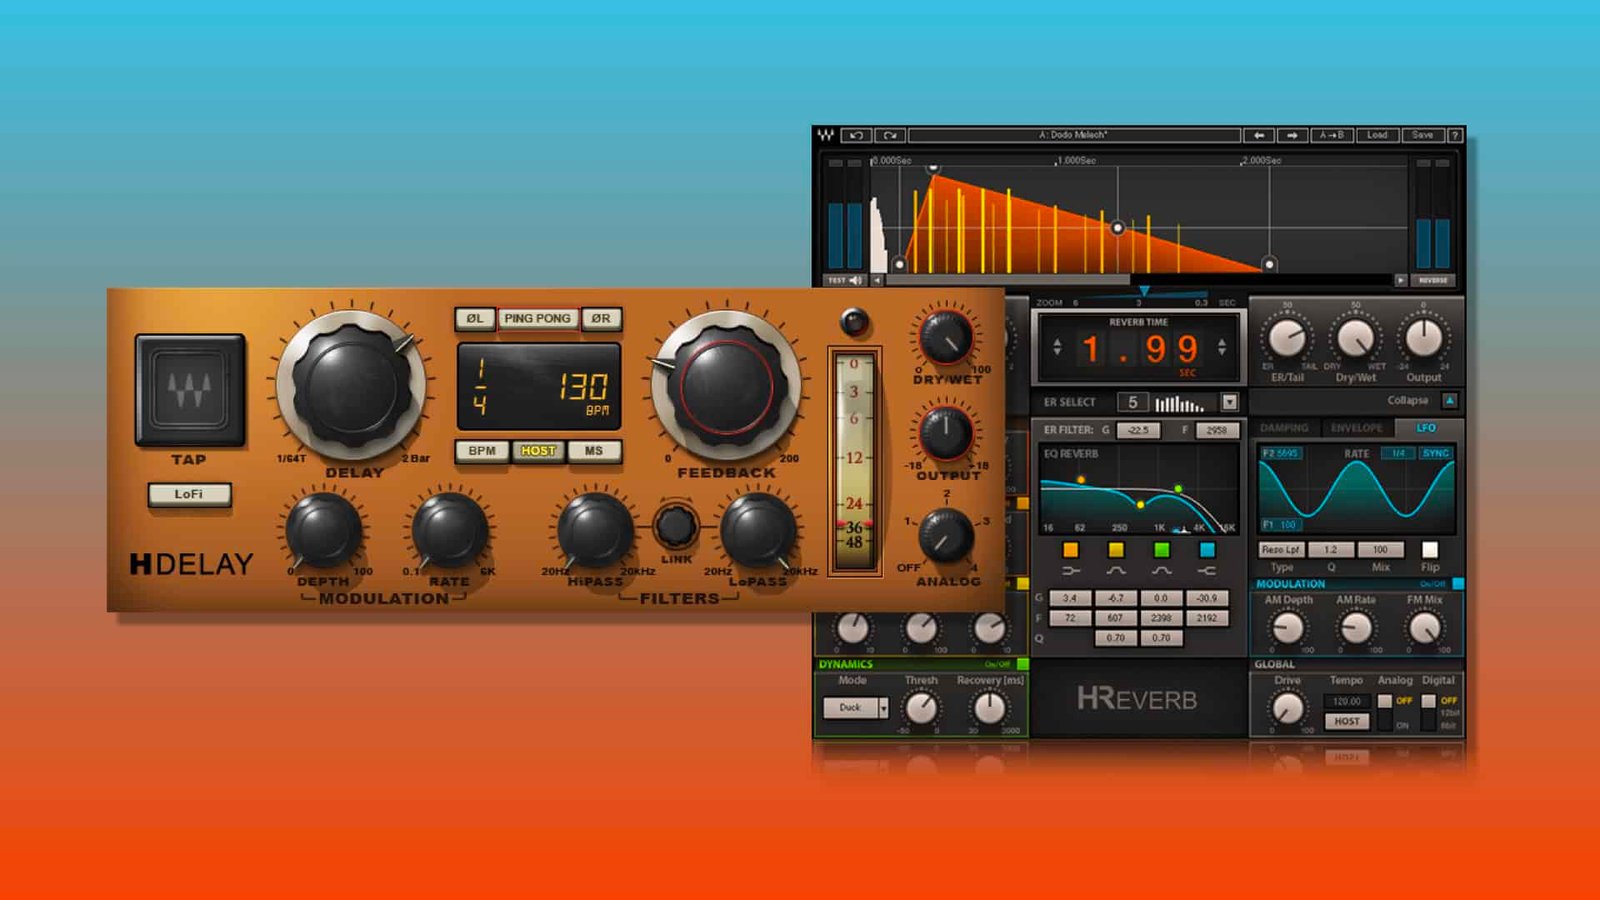
What Is A Delay Plugin ?
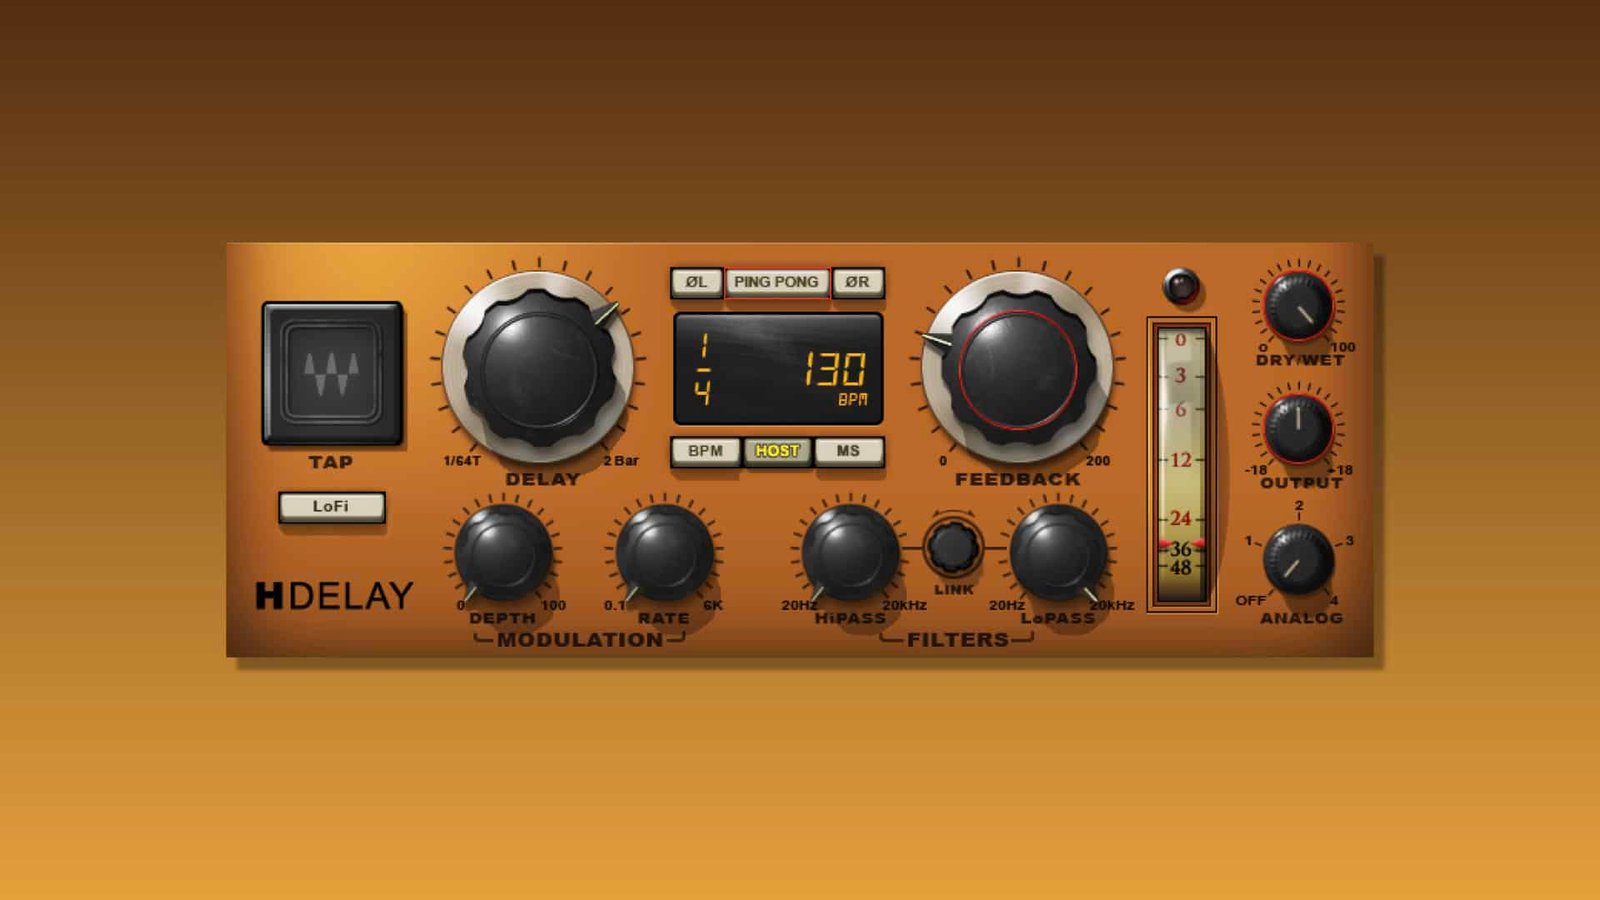
A delay plugin is a digital tool that allows to delay an audio signal by a certain amount of time. It is usually blended with the direct signal and often repeated a certain number of times based on a specific feedback.
The signal can be simply repeated it can be simply repeated following the stereophonic image of the source, or it can be switched from right to left, in which case it is called a ping-pong delay.
Behind the simplicity of delay there are tons of ways to use it to get creative with your vocal mixes, you can create a…
- Doubler
- Chorus
- Phaser
- Flanger
- Slap-back effect
- Room reverb
- Spring reverb
We won’t dive into all these ways of using a delay. Because that would take us away from the main topic, which is to be able to blend reverb and delay with rap vocals.
So we will only use the most « classic » ways of using a delay plugin. But you will see later that we can process these delays to create much more artistically interesting effects.
We are now ready to get to the heart of the matter, let’s go!

1. Use auxiliary tracks
A mistake many people do in vocal mixing is to use delays and reverbs directly in the audio track, in insert. Don’t do that! It is the worst way to keep control on your rap vocals.
But why, in audio mixing, using effects in vocal tracks so considered a crime? No, it’s not to annoy you, it’s a purely practical question. Let’s take a concrete case to illustrate this situation.
In this first situation, I have a vocal track with a reverb in insert. Mix : 12%
Now let’s say that, for any reason, I want more reverb on that part. The only solution I have is to turn up the mix knob to get more reverb. But by doing doing that, I also turn down the volume of my direct signal. We can clearly hear that the volume of the voice dropped down. It is very unpleasant. Mix : 35%
Let’s push it to the extreme so we can clearly hear how that principle can push the vocal far away in the mix. Mix : 60%
Just because I wanted to put more reverb, the volume of the voice dropped completely. It’s totally uncontrollable.
So you have to find a way to separate the reverb or delay on one track, and the direct signal on another. You can do this by using the very simple principle of auxiliary tracks.
To illustrate the explanations, I will use Pro Tools. But all softwares are able to reproduce exactly the same thing.
Situation : I want to add a delay to my vocal track and keep full control on both tracks.
Step 1 : Initial situation
Here’s our vocal track. No reverb, delay, or any fx added. The signal is completely dry.

Step 2 : Create an auxiliary track
With the keyboard shortcut Shift + Command (Mac) / Control (PC) + N, create a new track. Choose Stereo Auxiliary Track. In this new track, insert a delay plugin and set the mix knob at 100%. Remember, we only want the wet signal in this track, not the dry one.

Step 3 : Link the audio and the auxiliary track
The track we have created is only an auxiliary track. This means that, without any incoming audio, no sound will come out of this track. That’s why we need to send the audio signal from the voice track to our auxiliary track. This is very simple.
- On the auxiliary track choose a stereo bus as the input. Let’s say Bus 11-12.
- On the vocal track, click on one of your « send box » and choose Bus 11-12.
- The bus you choose doesn’t matter. But it has to be the same.

Step 4 : Choose the send value you find the best
When you activate a send bus (in our case, bus 11-12), you will see a fader appear in the middle of the screen. This fader will determine the « dose » of signal that you decide to send to your auxiliary track. So, indirectly, the volume of your effect.
You are now ready to use your delay in the best possible way! Set a value, and move it the way you want!

You can repeat this process whenever you need to add another effect like a reverb or a second delay for example.
2. Use filters
In my early years of mixing vocals, I was convinced that a reverb or delay sounded the way they sounded, and that’s the way it was. I quickly understood and used the auxiliary principle, but it’s clearly not enough.
For a quality mix, you will need either an EQ after each effect track. Or you will have to use plugins that have built-in EQ and filters.
A simple filter can literally make a mix sound from completely amateur to super pro, because it will blend your reverb and your delay together.
A. Delay
In fact, it is often the delay that needs to be filtered in a more extreme way to blend well with the reverb, and not the opposite. Indeed, an unfiltered delay can take up a lot of space and can potentially overload the mix.
That’s why it’s usually very effective to filter the top and bottom of the spectrum. This will give a more distant and lighter feel that is much more likely to blend well with the reverb.
If you do it right, you won’t hear a reverb and delay but a kind of solid space modulated by the frequency of the delay. That’s exactly what we want!
Let’s take an audio example.
Situation 1
I use a delay on the 1/4th note* But it takes way too much place in the mix. It’s very unpleasant to hear because it doesn’t blend with the general space.
* We can also hear an 1/8th note ping-pong delay, but this is not the point of interest.
Situation 2
I filtered the high and low frequencies. Now it sounds way more pleasant as it blends with the rest of the effects.
What did I add to the delay ? Well, just that simple filter :


B. Reverb
In fact, it is rare to literally filter a reverb. It’s more a matter of cleaning or frequency adjustments.
There are 2 typical situations :
- Too much sibilant sounds leave in the reverb. This creates some kind of very long whistles that can be very unsuitable. To counteract this problem, decrease the frequency range between 6 kHz and 9 kHz.
- The reverb is boomy and creates a kind of mud in the background of the mix. This is the typical situation that happens with flat reverbs like Little Plate or Pure Plate. That’s why they both have a low-cut filter. If your reverb don’t, I advise you to turn down the zone between 200 Hz and 300 Hz.

As a general rule, when the goal is to mix reverb and delay with vocals, it is better to match the color of the delay to the reverb rather than the other way around. But every mix situation is different.
3. Use several delays and reverbs
Mixing rap vocals is not just a matter of choosing a reverb and delay and finishing the song with that. In some situations it can work. But in 90% of the cases, several reverbs and especially several delays will be necessary to create a quality sound environment around the voice.
In the last audio example, we can identify 4 effects :
- Reverb
- 1/4th note delay
- 1/8th note ping-pong delay
- Slap-back delay
In vocal mixing, choosing the right reverbs and delays is not an easy task. It would take a whole article or even a book to analyze what to choose in each situation. But here are some typical mixing situations :
A. Reverb choice
- Choose small spaces (below 1.5 s) for more intimacy and proximity with the rapper.
- Choose big spaces (above 2 – 2.5 s) for airy, open, light vibes and atmospheres
To make your choice. Try to listen to the instrumental first, without any vocals. Try to imagine what kind of space you would like to highlight and what kind of feeling you would like to give to your listeners.
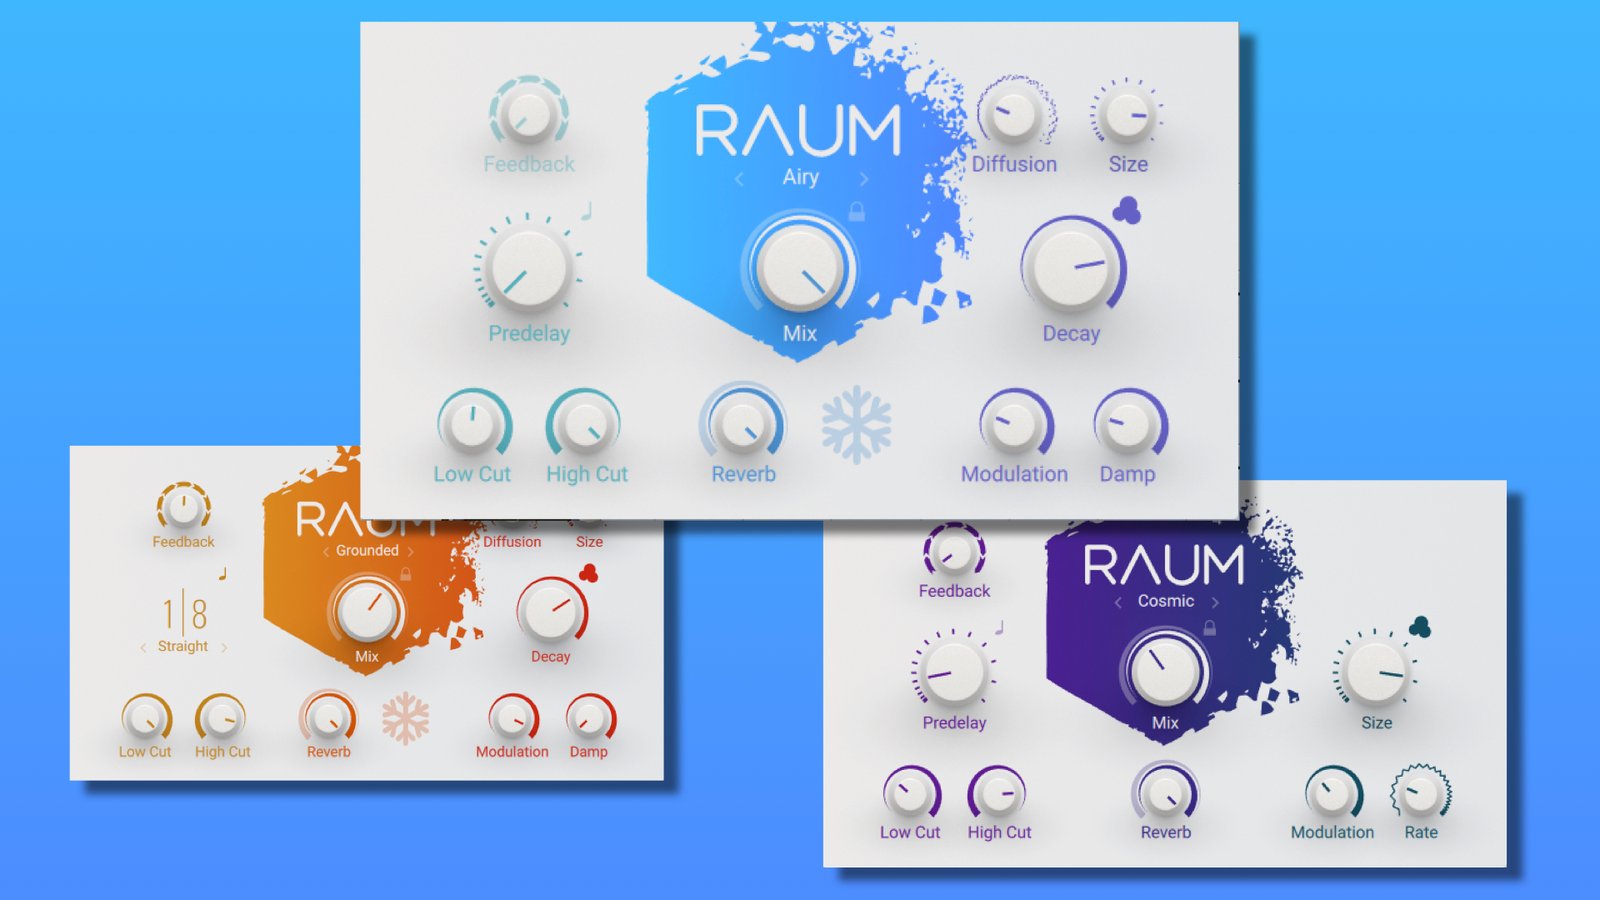
Whatever you choose as reverb, it’s always cool to have a very long reverb that you’ll open only on certain syllables to fill holes. Raum is a beast at doing that kind of thing.
B. Delay choice
As with the reverb, choosing the right delay is not easy, but some basic codes will greatly help you
- 1/4th note delay : Ideal to enhance the rythm of the song and to give more life to the background of your audio mix. Filter it for better results!
- 1/8th note delay : Speed up the rhythm of the song. The really cool thing to do is to try to blend it with the 1/4th note delay.
- Slap-back (1/16th and below) : Very fast delay with a small feedback amount to give more power to the loud syllables. EchoBoy from Soundtoys is very good plugin for slap-back delays
4. Add effects on the effects
Ok, that sounds a bit weird doesn’t it ? I know it does! And yet, just like the filter, adding effects to your effect tracks can really take your vocal mixes to another level.
But be careful, you shouldn’t add effects for the sake of adding effects. If there is no need to add anything, don’t do it.
What you will be given in the rest of this article are only ideas for more inspiration and creativity. They should be used in appropriate situations.
Well, if you’re ready, let’s go!
A. Add a doubler on The delay
A mono delay can sometimes, if not often, be very overwhelming to listen to. And a ping-pong delay is not always the solution to get more stereo, because it sometimes creates too much movement. The solution then: A doubler.
Some plugins, like Slate Digital’s Repeater, have this option within the plugin itself. But even in this case, it is always better to use plugins dedicated to the action you want to achieve.
That’s why I recommend using Doubler from Waves, which will give you a nice and natural stereo image. You can also completely remove the mono signal by pressing the small white square.

B. Add a light phaser on the reverb
This is the kind of thing that doesn’t work in many situations. But when it does work, wow, it can be extremely satisfying!
In fact, adding a very light phaser on the reverb can create an enveloping feeling that can really create a special atmosphere.
This principle rarely works on shorter reverbs, but can be very suitable in more airy tracks.
The key is to keep it subtle. If you use this technique, don’t go further than 15% with the mix pot of your phaser.
I advise you to try Phasis from Native Instruments which has an outstanding sound result and an impressive ease of use.

C. Add Early Reflections on the delay
Sometimes you might feel that your delay is too close, even when you turn down the volume. In this case, the ultimate solution to give distance to a source that is too close is to use an early reflection (ER) reverb.
But what are early reflections? They are, as their name indicates, the very first reflections of a reverb. They are the most powerful reflections.
By using only these first reflections (there are presets for that) it is possible to give a natural depth to a source. This principle is very much used in classical recording, to give more distance to some instruments of the orchestra.
The trick is to choose the right pre-delay. The ideal is generally between 5 and 10ms. A too long pre-delay will make your source come back to the foreground. While a too short pre-delay will give a blurred feeling to the mix.
It is also important not to add too much of these pre-reflections, as this would completely mask the direct signal.
I advise you to use very simple presets and therefore also simple and easy to use reverbs. I personally use the native reverb of Pro Tools, D-Verb, with its shortest ER preset (called Ambient) From there I push the pre-delay a bit, until I feel the delay getting too close again.

D. Re-send the delay in the reverb
You have to be very careful when doing this. It is a technique that can be very risky in terms of the accuracy of your mix.
If you don’t have much confidence in your vocal mixing skills yet. I would advise you not to get into this yet.
But keep this in mind for the future. Sometimes when delay and reverb don’t mix well together, the little element that is missing is simply that your ear differentiates too much between the spaces created by each.
What you can do then is to send, using the same auxiliary system explained above, some delay into your reverb. This should be relatively subtle, but it can solve a lot of the problems of mixing reverb and delay.
Need a professional sound engineer specializing in pop and hip-hop mixing ? Great! Take a look at our services and let’s blow up your career together!
Let’s start now!
5. Mix Them actively
Okay, now you have all the tools you need to mix pro-style and full control over every effect. Now you’ll learn the secret that makes the difference between a pro and an amateur: active mixing.
What does that mean? It means that finding the right effects and plugins to put on the right tracks is one thing, but being able to make them active is another.
Indeed, thinking that mixing is only about putting plugins in a track and letting each song color until the end is wrong. It will never work like that.
You will therefore need automations to move the effects send during the song, to fill gaps, to vary the universes, the depth and the balance of the effects.
Easy, you say? Well, not really. If this is the reason why this element widens the gap between pro and amateur audio mixes, it’s because taking the time to automate your mix requires time and concentration. At IDeez Studio, we sometimes take half of our time to do this.
To give you an idea, here’s what my effects sends often look like at the end of my mixes.

There is not a second where I let my mixes flow without doing anything. What’s difficult with automations is to find a middle ground between a mix that keeps a spatial identity throughout the track while still providing maximum movement.
To make you listen to the difference between an active and passive mix. Here are two of the same parts of a mix, the first one (on the right) has no automation.
In the second one, you may feel that feeling of too little. Like a desire to have something you don’t have. Even for the average listener, this can create a lot of unconscious frustration. This is something to avoid!
Never forget that the purpose of music is to convey emotions. A good audio mix will bring out the emotions and feelings that the artists want to convey.
6. Use templates
For someone who would like to mix his music, doing it actively can have a big disadvantage, as we said above, it takes a lot of time. This is exactly what pushes many amateur mixers away and prevents them from going to the next level.
But there is a very simple way to save a lot of time: Templates.
Templates are the best way to save time during the audio mixing process. The important thing with templates is to build them around what you need.
That’s why I strongly advise against buying ready-made templates online. They can be a source of inspiration, but not become your own template, in my opinion.
Whatever your choice of mix template, it should contain :
- Plugins you use every time you start a new mixing session. It could be a certain EQ, compressor or auto-tune. If you always use it, put it in your template.
- Auxiliary tracks with reverbs and delays with, in the vocal lead track, sends ready to be used. This will give you quick access to effects to bring the voice to life.
- An elaborate bus system. In mixing, it is important to be able to separate tracks by type using busses. Typical busses are: mix bus, vox bus, instrumental bus, drum bus,… Anything that would allow you to limit your use of plugins.
Conclusion
To be able to mix reverb and delay with rap vocals, you have to be able to mix simplicity and creativity. Which is not easy. But by trying to think of all the tips that have been given to you in this article, step by step, you will surely be able to improve considerably the use of your delays and reverbs with your vocal tracks.
Don’t forget that mixing, and especially vocal mixing, is all about feel. If your mix doesn’t take you into the world of the song, you may need to work a little harder on your effects.
If you have any questions about this topic or about audio mixing, contact me, I’m always happy to help!
Related Articles:
My favorite tools for mixing pop and hip-hop music:
Plugins
In the field of auto-tune, I’m convinced that nothing’s better and more efficient than Antares Auto-Tune Pro. As for the EQ’s, FabFilter Pro-Q3 and Slate Digital Infinity EQ are, in my opinion, the best tools. For compression, I have 2 favorites plugins: Waves RComp and UAD EL8 Distressor.
As for reverb, I’m a big fan of the Soundtoys Little Plate, but generally, I go for the Valhalla VintageVerb for its versatility. I also love the Arturia Rev PLATE-140 and the UAD Pure Plate for its organic side.
Headphones
The closed headphones I love and will always love using for mixing pop and hip-hop music are the Beyerdynamic DT-770. As for the best open-back headphones, I use the Sennheiser HD600 headphones, and I’m really happy of them!
Monitors
Having a pair of Yamaha HS7 in its studio or home studio is always cool for more excitement while listening to your mixes. The Adam Audio T7V monitors are also super accurate. In my studio, I also have a pair of Genelec 8030 for their reliability.
Hardware gear
For anyone who wants to start using hardware in their mixes, I always recommend these 2 units from Klark Teknik: the EQP-KT and the 76-KT. Don’t forget to use good converters, such as the Apollo interfaces. This is essential for a good rendering.


